


Manual
do
Maker
.
com
Controle e design do display Nextion


No artigo anterior vimos os comandos para programação e acesso a alguns recursos do Nextion. Nesse artigo discorro sobre controle e design oferecidos pela interface do display.
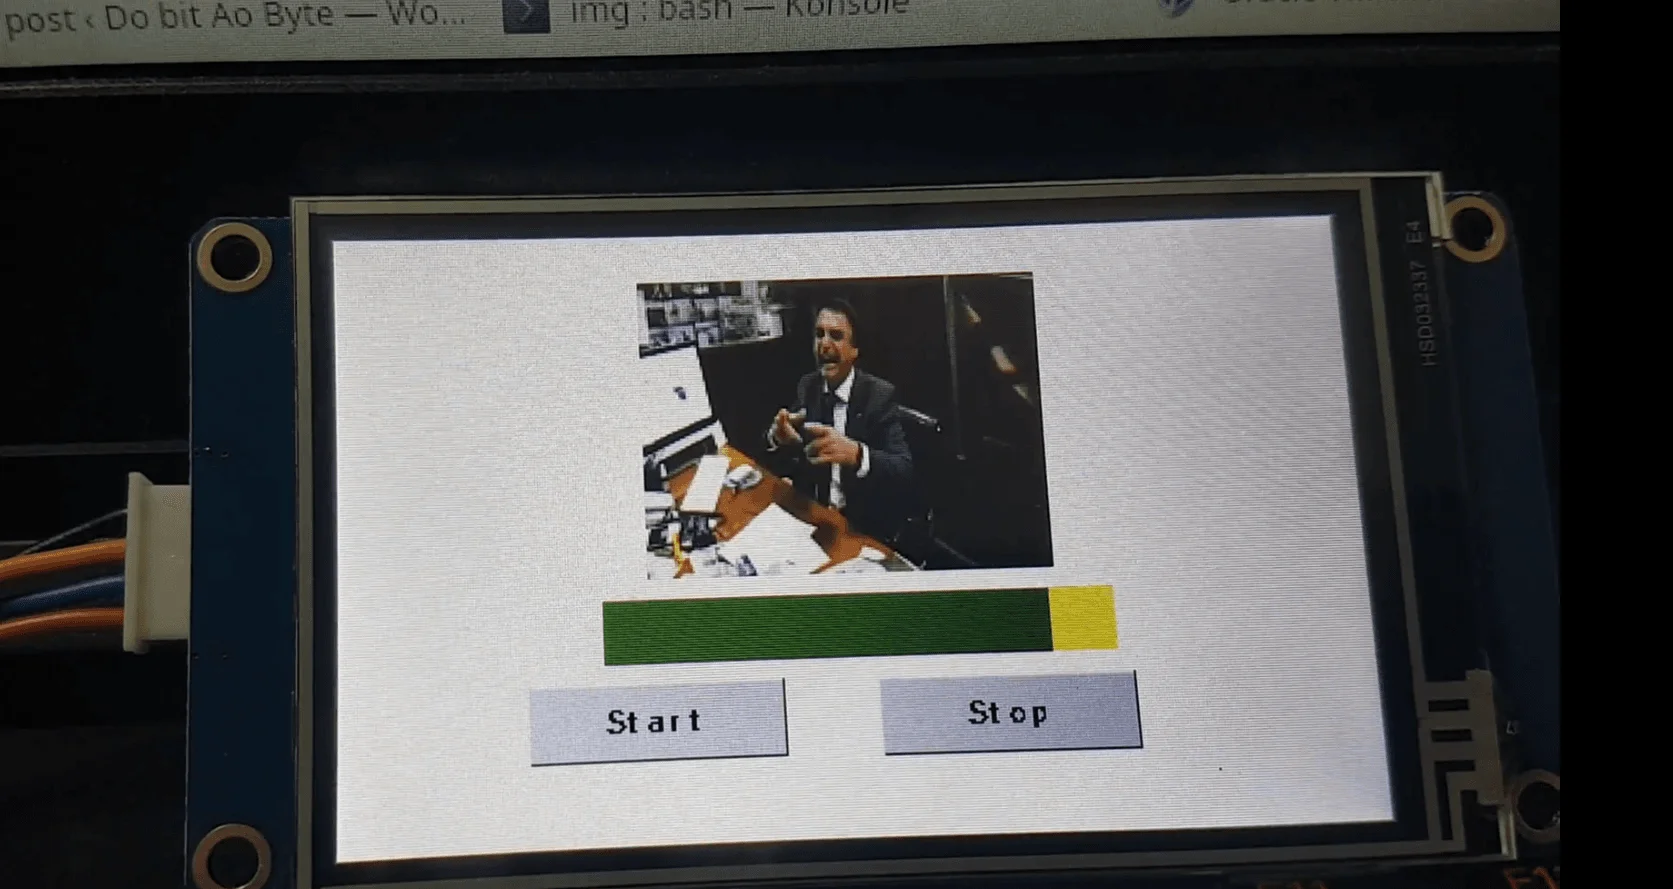
Mostrar imagens
Primeiro, lembre-se de que as imagens a serem utilizadas devem estar na biblioteca de recursos, que é a janela da esquerda na parte de baixo da janela. Inclua suas imagens e elas serão nomeadas de 0 em diante.
Se quiser exibir uma imagem na tela para, por exemplo, produzir um protetor de tela até que haja alguma interação, o primeiro passo é saber como colocar uma imagem na tela. Depois, basta fazer um loop com delays e ficar trocando a imagem, ou então, fazer a troca a partir do dispositivo interligado ao display, através da comunicação serial.
Para colocar uma imagem de ID 0 alinhada em 10,10, utiliza-se o comando pic:
pic 10, 10, 0
Claro, devemos nos ater ao fato de que a imagem deve ter sido preparada para esse propósito, afim de não sobrescrever algum componente da tela, além de prezar pela diagramação da tela. Porém, podemos fazer um joguinho onde as imagens são objetos na tela, daí até gerar posicionamentos randômicos pode ser interessante.
Cortar uma imagem
Com o comando picq podemos cortar uma área de uma imagem, que deve estar preenchendo a tela. De outro modo, a imagem não será cortada como esperado.
picq 20, 50, 30, 20, 0
//Corta a área iniciando nas coordenadas 20, 50 com uma largura de 30
//e altura de 20, na imagem cujo ID for 0, então exibe na tela, na
//coordenada 20,50.
Cortar uma imagem e exibir em outra coordenada
Acima, a imagem é exibida na coordenada em que foi cortada. Se quiser fazer o reposicionamento de um corte, utilize o comando xpic.
xpic 20, 30, 40, 50, 10, 10, 0
//Coordenada iniciada em 20, 30
//Largura de 40 e altura de 50
//Corta a área iniciada em 10, 10
//Imagem de ID 0
Escrever uma string na tela
Pode ser bem interessante utilizar esse recurso para fazer scrolling, hum? Ou até mídia de elevador, se pensarmos em uma área de notícia que possua dado randômico (nada impede que seja utilizado um label nesse caso), mas certamente o maior motivo para a utilização de string sem um objeto de texto é justamente fazer a animação.
Para imprimir uma string no dispositivo utilizamos o comando xstr:
xstr 5, 10, 20, 30, 1, BLUE, WHITE, 0, 1, 2, "Manual do Maker"
//5 é a coordenada X
//10 é a coordenada Y
//20 é a largura da área
//30 é a altura da área
//1 é o ID da fonte (deve ser renderizada, mostrado anteriormente)
//BLUE é a cor da fonte
//WHITE é a cor de fundo. ID da imagem, quando sta for cropped
//0 é o centro X (alinhado à esquerda, 1 centro, 2 direita)
//1 é o alinhamento vertical (0 cima, 1 centro, 2 baixo)
//2 é o sta. As opções são:
//0 - imagem cortada do fundo
//1 - cor sólida
//2 - imagem qualquer
//3 - Sem cor de fundo
//Quando selecionado imagem ou corte, a cor de fundo deve ser
//o ID da imagem
Preenchimento de uma área
Para traçar um retângulo em uma área qualquer, utiliza-se o comando fill.
fill 0, 10, 20, 30, BLUE
//coordenadas:
//x
//y
//largura
//altura
//cor
Traçar uma linha
Bem parecido com preenchimento de área e pode ser interessante para fazer, por exemplo, um relógio.
line 10, 20, 30, 40, GREEN
//de x,y até x,y na cor verde
Traçar um retângulo
Para traçar um retângulo com o comando draw:
draw 0, 10, 20, 30, WHITE
//x,y de inicio
//x,y do ponto final
//cor
A diferença de fill é que não haverá preenchimento.
Traçar uma circunferência
Se podemos traçar um retângulo, por que não um um círculo, hum?
cir 10, 20, 30, YELLOW
Traça um círculo de raio 30 com centro nas coordenadas 10,20, na cor amarela.
Traçar uma circunferência com preenchimento
Exatamente como traçar uma circunferência, mas utilizando o comando cirs.
Variáveis de sistema
Fiz um Ctrl+Chups da documentação. Está em inglês, mas não tive paciência para fazer a tradução porque são muitos parâmetros.
| Item | Name | Meaning | Instance/Remarks |
| 1 | dim | Current value of backlight brightness | 1.dim=50 2.dim=dim+l0 3.dim=dim-l0 |
When you set dim=80, it means you have set the brightness as 80, but did not save it as default. Next time you power on the Nextion TFT, the brightness of backlight will keep its default setting. | | 2 | dims | default backlight brightness when Nextion is powered on | 1.dims=50 2.dims=dims+10 3.dims=dims-l0
When you set dims=80 to Nextion TFT, it means you have set the brightness as 80, and have saved it as default. Next time you power on the Nextion TFT, the brightness of backlight will be 80 by default. | | 3 | baud | Current value of baud | 1.baud=2400 2.baud=4800 3.baud=9600
4.baud=19200 5.baud=38400 6.baud=57600 7.baud=115200 | | 4 | bauds | Default value of baud when Nextion is powered on | 1.bauds=9600 is the default baud of factory settings.
2.when you set bauds=115200 to Nextion, it means you have set the baud as 115200, and saved it as default. Next time you power the Nextion, the value of baud will be 115200 by default. | | 5 | spax | Horizontal spacing of font display
(default 0) | spax=2 | | 6 | spay | Vertical spacing of font display
(default 0) | spay=2 | | 7 | thc | Brush color at touch drawing | l.thc=RED 2.thc=l024 | | 8 | thdra | Touch drawing function | thdra=0(C1ose) thdra=1(Open) | | 9 | ussp | If no serial data, it will auto activate sleep time (unit: second, minimum 3, maximum 65,535, power-on default 0) | ussp=30(No serial data within 30 seconds, it auto will enter into sleep mode)
ussp=0(invalid) | | 10 | thsp | If no touch operation, it will auto enter into sleep time (unit: second, minimum 3, maximum 65,535, power-on default 0) | thsp=30(No touch operation within 30 seconds, it will auto enter into sleep mode)
thsp=0(invalid) | | 11 | thup | Touch in sleep mode will auto-awake switch (power-on default 0) | thup=0(Touch will not auto awake switch during sleep mode)
thup=1(Touch will autom awake switch during sleep mode) Remarks: Whether thup be 0 or 1, whenever there is any touch operation in sleep mode, the device will send touch coordinates to the serial port. | | 12 | sendxy | Close or open real-time sending touch coordinate function | sendxy=0(C1ose) sendxy=1(Open)
Remarks:
- When this function is open, the device will send touch coordinate through serial port when you touch the screen.
- Please refer to the table: Format of Device Return Data to learn more about the format of sending the coordinate. |
| 13 | delay | | Delay=100(Pause the device for l00ms)
Remarks: When delay command is executed, the CPU of the device will not execute any commands, but will continue receiving serial port command and store them to buffer. | | 14 | sleep | | sleep=0 (Exit Sleep)
sleep=l (Enter Sleep)
Remarks:
When the device wake up from sleep mode, the device will auto refresh the current page, and the backlight brightness will recover to the default brightness value. Two commands available for changing the brightness of backlight, dim and dims. | | 15 | bkcmd | Data return of successful/failed execute serial command(2 by default) | bkcmd=0 (No return)
bkcmd=l (Only return the successful data)
bkcmd=2(Only return the failed data)
bkcmd=3(Always return)
Remarks:
This setting only affects the serial command’s successful execution or fail execution’s data return. In Nextion Editor’s editing interface, when there is a command execution error, it will return error data; when the command being executed successfully, it will not return execution result data. | | 16 | rand | random value | dim=rand (assign a random value to backlight brightness)
n0.val=rand (assign a random value to variable of n0.val)
Remarks:
1.Before use rand, you should use randset command to set random value generated range. If you do not set it, the default range will be 0~4294967295. Aftering setting randset, you will get a new random value within the preset range every time you run rand.
- The range set by randset keeps valid unless the device being reboot or reset. |
| 17 | sys0
sys1
sys2 | Numeric system variables | sys0=10 sys1=40 sys2=60 n.val=sys2
Remarks:
ys0, sys1, sys2 are global variables, which do not required to define or create. You can use them in any page. Default value for these three variables are 0, they can be read and write, their value range are 0~4294967295. It's recommended to pass values through pages with they system variables. | | 18 | rtc0 to rtc6 | RTC variables (Enhanced Only) | rtc0, year;
rtc1, month;
rtc2, day;
rtc3, hour;
rtc4, min;
rtc5, second;
rtc6, week; | | 19 | pio0 to pio7 | GPIO variables (Enhanced Only) | Default mode when power on: pull up input mode
Internal pull up resistor: 50K | | 20 | pwm4 to pwm7 | Duty cycle for the PWM GPIO (Enhanced Only) | min value = 0, max value = 100, default = 50; | | 21 | pwmf | PWM frequency (Enhanced Only) | min value = 1Hz, max value = 65536 Hz, default = 1000Hz;
All PWM output is unified to one frequency, no independent setting is allowed. | | 22 | wup | Refresh certain page when wake up | wup=255 (default, refresh current page), wup=2 (refresh page 2 when wake up)
Note: Nextion can execute wup even in sleep mode;
|
Formato do retorno de dados do dispositivo
Para cada comando enviado, obtém-se uma resposta. A lista de respostas do dispositivo é essa:
| The first byte of returned data | Meaning | Format |
| 0X00 | Invalid instruction | 0X00+End |
| Return this data when receiving the invalid instruction sent by the user | ||
| 0X01 | Successful execution of instruction | 0X01+End |
| Return this data when the instruction sent by the user is successfully executed | ||
| 0X02 | Component ID invalid | 0X02+End |
| Return this data when the instruction from external device contains invalid component ID or invalid component name | ||
| 0X03 | Page ID invalid | 0X03+End |
| Return this data when the instruction sent by external device contains invalid page ID or invalid page name | ||
| 0X04 | Picture ID invalid | 0X04+End |
| Return this data when the instruction sent by the user contains invalid picture ID | ||
| 0X05 | Font ID invalid | 0X05+End |
| Return this data when the instruction sent by the user contains invalid font ID | ||
| 0X11 | Baud rate setting invalid | 0X11+End |
| The baud rate setting instruction sent by the user contains invalid baud rate parameter | ||
| Baud rate supported by the device including:2400 4800 9600 19200 38400 57600 115200 | ||
| 0X12 | Curve control ID number or channel number is invalid | 0X12+End |
| When users use the add commands to add data to curve, this data will be returned as curve control ID number or channel number is invalid | ||
| 0X1A | Variable name invalid | 0X1A+End |
| Return this data when the serial port receives invalid variable name | ||
| Note: control attribute is also called variable. For example, when you set the attribute of a control, it will return this data if the unavailable attribute name is input. | ||
| 0X1B | Variable operation invalid | 0X1B+End |
| For example, when txt attribute of text component t0 is assigned, it should be written as t0.txt=“abc” It is wrong if you write t0.txt=abc. | ||
| For another example, the val attribute of progress bar j0 should be numerical, so it should be written as j0.val=50; it will be wrong if you write j0.val=“50” or j0.val=abc. | ||
| 0X1C | Failed to assign | 0X1C+End |
Return this data when attribute failed to assign. | | 0X1D | Operate EEPROM failed | 0X1D+End
Return this data when operate EEPROM failed. | | 0X1E | Parameter quantity invalid | 0X1E+End
Return this data when the instruction parameter quantity input by user is wrong. | | 0X1F | IO operation failed | 0X1F+End
Return this data when operate IO failed. | | 0X20 | Undefined escape characters | 0X20+End
Return this data when you use a undefined escape character. | | 0X23 | Too long variable name | 0X23+End
Maximum allowed length of a variable is 29 characters. |
| The first byte of returned data | Meaning | Format |
| 0X65 | Touch event return data | 0X65+Page ID+Component ID+TouchEvent+End |
| Return this data when the touch event created by the user is pressed. | ||
| Definition of TouchEvent: Press Event 0x01, Release Event 0X00) | ||
| Instance: 0X65 0X00 0X02 0X01 0XFF 0XFF 0XFF' | ||
| Meaning: Page 0, Button 2, Press | ||
| 0X66 | Current page ID number returns | 0X66+Page ID+End |
| The device returns this data after receiving “sendme” instruction) | ||
| Instance: 0X66 0X02 0XFF 0XFF 0XFF | ||
| Meaning: Current page ID is 2 | ||
| 0X67 | Touch coordinate data returns | 0X67++ Coordinate X High-order+Coordinate X Low-order+Coordinate Y High-order+Coordinate Y Low-order+TouchEvent State+End |
| When the system variable “sendxy” is 1, return this data at TouchEvent occurring | ||
| Definition of TouchEvent: Press Event 0x01, Release Event 0X00 | ||
| Instance: 0X67 0X00 0X7A 0X00 0X1E 0X01 0XFF 0XFF 0XFF | ||
| Meaning: Coordinate (122,30), Touch Event: Press | ||
| 0X68 | Touch Event in sleep mode | 0X68++Coordinate X High-order+Coordinate X Low-order+Coordinate Y High-order+Coordinate Y Low-order+TouchEvent State+End |
| When the device enters sleep mode, return this data at TouchEvent occurring | ||
| Definition of TouchEvent: Press Event 0x01, Release Event 0X00 | ||
| Instance: 0X68 0X00 0X7A 0X00 0X1E 0X01 0XFF 0XFF 0XFF | ||
| Meaning: Coordinate (122,30), Touch Event: Press | ||
| 0X70 | String variable data returns | 0X70+Variable Content in ASCII code+End |
| When the variable obtained through get command is string type, return this data | ||
| Instance: 0X70 0X61 0X62 0X63 0XFF 0XFF 0XFF | ||
| Meaning: Return the string data: “abc” | ||
| 0X71 | Numeric variable data returns | 0X71+variable binary data(4 bytes little endian mode, low in front)+End |
| When the variable obtained by get command is value, this data returns. | ||
| Instance:0X71 0X66 0X00 0X00 0X00 0XFF 0XFF 0XFF | ||
| Meaning:return value data:102 | ||
| 0X86 | Device automatically enters into sleep mode | 0X86+End |
Only when the device automatically enters into sleep mode will return this data. If execute serial command “sleep = 1” to enter into sleep mode, it will not return this data. | | 0X87 | Device automatically wake up | 0X87+End
Only when the device automatically wake up will return this data. If execute serial command “sleep=0” to wake up, it will not return this data. | | 0X88 | System successful start up | This data is sent after a successful power-on initialization on the device | | 0X89 | Start SD card upgrade | This data is sent after the device power on and detect SD card, and then enter upgrade interface | | 0XFD | Data transparent transmit finished | 0xFD+End | | OXFE | Data transparent transmit ready | The device will enter into transparent transmission data initialization mode after receiving data transparent transmission instruction. Data will be sent once the initialization is completed, which means it has entered into data transparent transmission mode and start to transparent transmit data. |
Enfim, esse é o "raio-x" do dispositivo, agora tenho artigos o suficiente para referenciar a cada projeto com esse display. Sigamos para o próximo!
Case para o Nextion Display
Já desenhei um case simples e justo, apenas para o display e um ESP32/ESP8266 ou um Arduino Nano, ou um Digispark, ou outro controlador pequeno. Devo mandar para corte essa semana, talvez eu faça alguns extras para quem tiver interesse, mas sugiro que você faça o seu, é só ir até o nosso canal no Youtube e assistir os tutoriais de QCAD, mas não deixe de se inscrever no canal e clicar no sininho para receber notificações.


Inscreva-se no nosso canal Manual do Maker no YouTube.
Também estamos no Instagram.


Djames Suhanko
Autor do blog "Do bit Ao Byte / Manual do Maker".
Viciado em embarcados desde 2006.
LinuxUser 158.760, desde 1997.